Wednesday, December 5, 2012

Christmas photo craft

Ahh, the stress of getting the perfect picture of your children to use on your Christmas card. Let's do a craft to commemorate that process ;) This project was inspired by Sarah at Clover Lane, you can see her version here.

It's so fun to look back at past year's pictures, and the kids love to see how they've grown. If you don't do yearly Christmas/Holiday card pictures, you could use any picture you have from each year.

To start, I gathered up all of our old Christmas pictures (I usually have some leftover from my cards each year.) Then I picked up these wooden frames from Hobby Lobby.

I painted them with a white wash (half white paint mixed with half water) just doing one coat. The white wash will dry pretty quickly if you do a light coat.

Next, I printed out a band of green with the year for each picture. Be smart (unlike me) and save this file somewhere you can find in next year, so you don't have to recreate it and try to match the font and color! UGH!
I had to take a picture of my computer screen, because I'm out of ink!

Next, I cut out the green strips and modge-podged it on the wooden plates. Once that was dry, I used double-sided tape to tape on the pictures. I tried one version where I modge-podged over the picture, not a good idea, it looked BAD!

The last thing I did was drill a small hole at the top of each plate to thread the ribbon through.

Plan ahead and make the ribbon longer, so you can add a picture each year. You could get much more elaborate with the ribbon, maybe a thick velvet ribbon you could glue to the back of the frames. Or, you could add some more embellishments to the bottom of the ribbon where I have the jingle bells. I kept mine pretty simple, due to two sets of curious hands around here!


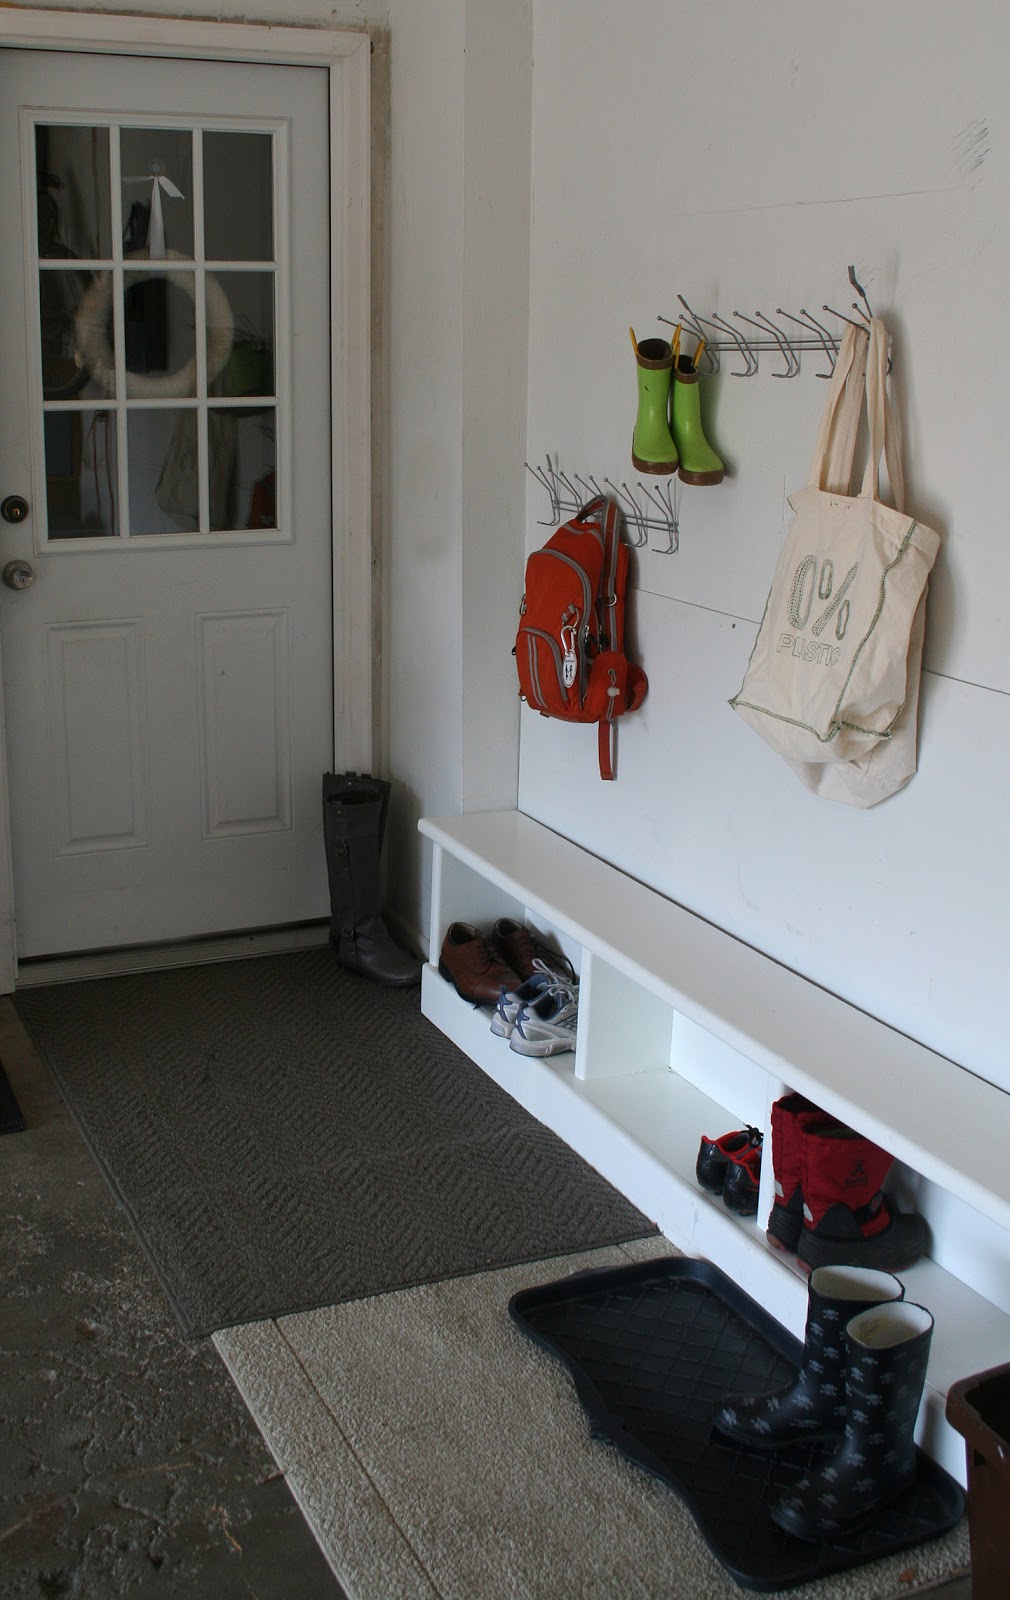
I have mine hanging in our pretend mud room, so we see every time we come and go!


Linking up with:
DIY Holiday Highlights     HookingupwithHoH    The Shabby Nestcraft party centsational girl


Tuesday, December 4, 2012

Simple holiday mantel


I kept our mantel pretty simple this year. I find that with the Christmas tree in the same room and so close to the mantel, things can get pretty busy looking.

I love mantels that have the drapey garlands and greens, but for this room it just doesn't work. We also have our big, black TV on our mantel so that really cuts down the space to play with.


On the left side I have two mercury glass (metal?) candle holders, bought at Target a few years ago (during their glorious after-Christmas sales!) I needed more height for one of the candle sticks, so I just wrapped an old box with scrap booking paper to lift it up.


The white vase was thrifted and the green ball inside is a "kissing ball" with the ribbon cut off, just plopped inside.


The right side has a birdcage filled with gold, silver and white ornaments, a stack a white books, a plant and a plate all in white tones. The plate is hung with a Command Velcro hook, and has held up great.


And, as much as I complain about that big 'ol TV, I'm sure happy to have it when this comes on!

Linking up with:
The Lettered Cottage

Tuesday, November 27, 2012

Make a Mud Room (with no constuction) Part 2

I shared part 1 of my DIY mud room here. The space I transformed in the garage leads into a little 3'x3' landing. On one side there are stairs going down to our basement, the other side had a small closet with accordion doors and the third side lead up two steps to our main floor.
This is the only before picture I could find.

The problem with the closet was when the the doors were open, they jutted out into the space making it even more cramped. So, we removed the doors. Then, when we redid the kitchen, we used the same vinyl flooring and continued it down the steps and onto the landing. We built a bench out of MDF supported by 2'x'4's around the sides for a place to put shoes on. While we were tearing the closet apart, I had my dad put in an electrical outlet so we would have a spot to charge cell phones (and the Dustbuster ;).) Next, I added some hooks and two sliding Ikea baskets underneath (can't find the exact baskets we have, but these are similar.)


I maximized this space by using walls that lead down into the basement. Here we have a cork board for each boy to tack up reminders, pictures, etc. I found the bell at a thrift store, and brought it home because it had the year our house was built engraved on it.


The other side has more family photos. I'm not a huge fan of photographs on the walls in any other rooms in our house, but I like them here.


So, the combination of the the two space (in the garage and here) make my wanna-be mud room. It works pretty well for us. :)

Linking with:

DIY-project-parade-button-thumbnail


UndertheTableandDreaming 

Monday, November 19, 2012

Make a Mud Room (with no construction) Part 1

My house doesn't have a mud room. So unfair, right?! With two young boys I needed a solution to the pile of shoes by the door and the mound of coats/hats/backpacks.

So, I decided to make my own mud area using the space I already had. We have an attached two-car garage (that we actually park two cars in) so space is at a premium. But, I discovered if I moved the trash cans and recycling bin, I would have a little 3' x 10' space to use. I didn't have to think too much about how to go about it because Sarah at Clover Lane did it first! Hers is much nicer and grander than mine, but ours works pretty well for our little family.


I searched everywhere for a bench to use for the boys to sit on to take off their shoes. I really wanted something that had storage underneath, but that wasn't a deal breaker. The most important thing it had to have was a low seat height. My boys are 6 and 3, I needed something they could easily get on and off themselves (or it would have defeated my purpose!) And, I didn't want to spend much on it, at all.  After all, it was going live its life in my crusty garage. It took me a couple of weeks but I finally found what I was looking for at the thrift store for $10. It's actually the top/headboard for an old water bed (do they even make water beds anymore?!) Anyway, all I had to do was remove the supports (the part that raised it off the floor) and I had the perfect sized bench, with storage!


The shelf/bench was solid wood, but had a very dark stain. After I wiped it down, I used Kilz primer and two coats of some white gloss paint we had lying around. In retrospect I should have used a darker color to hide all of those scuff marks.

Once I had the bench painted, all I need to do was add a rug, some hooks and a boot tray. I found it impossible to find the right sized rug for this area, so I just layered two rugs I already had. Hooks are from Target, boot tray from Bed Bath & Beyond. In the winter, I add another boot tray so each kid has their own. They're really good about taking a big step so their wet boots get on the tray, slipping the boots off and then running across the rug into the house. No wet socks, hooray!


Next, I'll show you part 2 of our mud room (that's actually inside the house, fancy!)

Linking up with:
Show Us Your House

Thursday, November 15, 2012

Thanksgiving table (with printable place cards)

We're not hosting Thanksgiving this year. After six straight years of doing it, I can't say I'll miss all the shopping, food prepping, cooking and cleaning. What I will miss is the table setting. So, I decided our little family would have our own special dinner in the dining room. A room that sadly is only used for dining a few times a year.

While we won't be eating traditional Thanksgiving food for our little dining room dinner, I did want the table setting (or table scaping as they call it) to be Thanksgiving-ish. I started with gold plate chargers from Target a couple years ago, followed by our simple Crate & Barrel dishes. The glasses are from my Grandma :)

The gold acorns I used in the centerpiece are actually ornaments from Wal-Mart. I found out about these from Stephanie Lynn at Under the Table and Dreaming, go check her post about other hidden gems at Wally World!

Candle holders are DIY. Candle sticks (bottom) are glued with glass epoxy to a glass vases, all found at the Dollar Store (how's that for a $2/each investment?!)

And no table, in my opinion, is complete without place cards. I mean, there were four of us eating dinner that night, how would we ever find our place without them? ;) I chose a cozy plaid background for the cards, wrote the names of our dinner party guests, folded and placed on each plate. You could also add embellishments to the cards: feathers, paper (or real) leaves, anything really.

Here's a printable sheet of name cards if you'd like to use them for your Thanks or Fakesgiving dinner. I printed mine on linen cardstock which makes the plaid look even more charming.

Happy Thanksgiving!

Linking up with:
The Shabby Nest DIY Project Parade featured image UndertheTableandDreaming

Monday, November 12, 2012

Kitchen before & after

This kitchen was original to our 1963 colonial. It was the first thing we tackled when we move in in 2005. Luckily, we moved in the summer and my husband, who works in education, was off and time to spend on the house. My dad came over for about a week and helped us tear out and rebuild our kitchen. All the labor was done by us!
This is what we started with:


Here’s after adding:
New flooring, cabinets, hardware, counter tops, lighting, and appliances. (Everything was purchased for under $6,000.)


Like I said, this remodel is about 7 years old so I’m a little fuzzy on the sourcing details.
Floors: Independent Flooring
Cabinets: Stock cabinets from Home Depot
Counter top: Menards
Hardware: Online, but I can’t remember the site. I do know it was significantly less expensive than the big box hardware stores.
Wooden blind above sink: Meijer
Bar stools: From the old Martha Stewart line at Kmart. They were $16 each! They started out white and I recently spray painted them cherry red.

If you have any questions, please ask!


Linking up with:
UndertheTableandDreamingHookingupwithHoH